
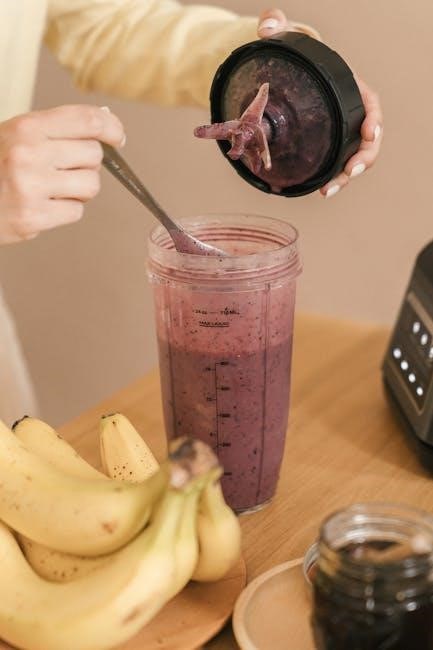
Mapei grout mixing is essential for achieving durable, aesthetically pleasing results. Proper techniques ensure even ingredient distribution, consistency, and color accuracy. Mapei offers high-quality grout products designed for various tile installations, requiring precise water-to-powder ratios and careful application methods. This guide provides step-by-step instructions and best practices for successful grouting, catering to both professionals and DIY enthusiasts.
1.1 Importance of Proper Mixing Techniques
Proper mixing ensures even ingredient distribution, achieving the desired consistency and preventing lumps. It guarantees uniform color and strength, avoiding patches or weak bonds. Incorrect ratios or over-mixing can lead to uneven results or reduced durability. Consistent mixing is vital for a professional finish and long-lasting grout performance. Always follow Mapei’s guidelines for optimal results.
1.2 Overview of Mapei Grout Products
Mapei offers a range of high-performance grout products, including Ultracolor Plus, designed for superior durability and color consistency. These grouts cater to various tile types and environmental conditions, ensuring flexibility and strength. Mapei products are known for their ease of use, versatility, and ability to enhance tile installations with a professional finish, making them a preferred choice for both professionals and DIY enthusiasts.
Preparation for Mixing Mapei Grout
Shake the grout bag thoroughly to distribute ingredients evenly. Use a clean, suitable mixing vessel and select the right tools, like a low-speed mixer. Ensure the workspace is clean and organized for efficient mixing and application.
2.1 Shaking the Grout Bag
Shaking the grout bag ensures an even distribution of ingredients, preventing lumps and color variations. Hold the bag firmly and shake vigorously for about 30 seconds. This step is crucial for achieving a uniform mix and optimal grout performance. Proper shaking guarantees consistent results, making it a key initial step in the mixing process.
2.2 Selecting the Right Mixing Vessel
Choose a clean, sturdy mixing vessel, such as a 5-gallon plastic bucket, to ensure contamination-free grout preparation. Avoid using containers with residue or reactive materials. The vessel should be large enough to hold the grout and water without spilling. A dedicated mixing bucket is ideal for maintaining hygiene and consistency in the mixing process.
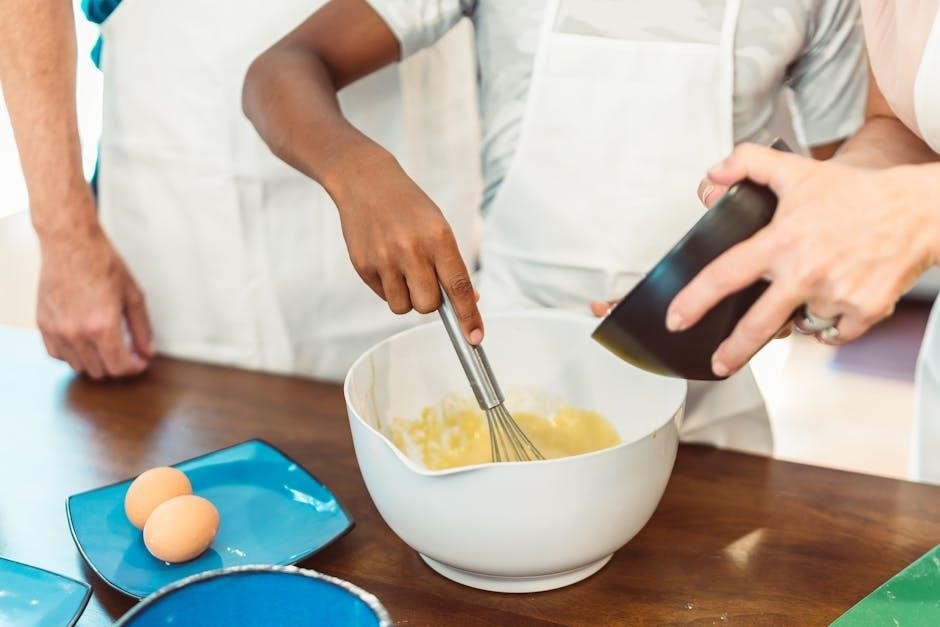
The Mixing Process
Mix Mapei grout with a low-speed mechanical mixer to avoid air bubbles. Add grout powder gradually, stirring until a smooth, consistent paste forms; Allow the mix to rest briefly before final stirring to ensure optimal workability and even color distribution.
3.1 Adding Grout in Stages
Add Mapei grout powder in stages to ensure even mixing. Start with half the required amount, mix thoroughly, then gradually incorporate the remaining grout. This prevents lumps and ensures a smooth, consistent paste. Scrape the sides of the mixing vessel to incorporate all material evenly, achieving the desired texture for optimal application. Avoid over-mixing to maintain the grout’s workability and final appearance.
3.2 Using a Low-Speed Mechanical Mixer
Use a low-speed mechanical mixer at 350 rpm to mix Mapei grout. This prevents air bubbles and ensures a smooth, consistent paste; Mix for 4-5 minutes, stopping to scrape the sides and bottom of the mixing vessel. Over-mixing can lead to air entrainment, reducing the grout’s strength. Allow the mixture to rest for 2-3 minutes before final stirring to achieve optimal workability and finish.
3.3 Achieving the Correct Consistency
Achieve a smooth, creamy paste by mixing thoroughly. If the grout seems stiff, mix by hand with a margin trowel until uniform. Avoid over-mixing, as it can introduce air bubbles. Let the mixture rest for 2-3 minutes before stirring briefly to ensure optimal consistency for application. The grout should be workable but not runny, ensuring proper filling of tile joints without excess shrinkage.
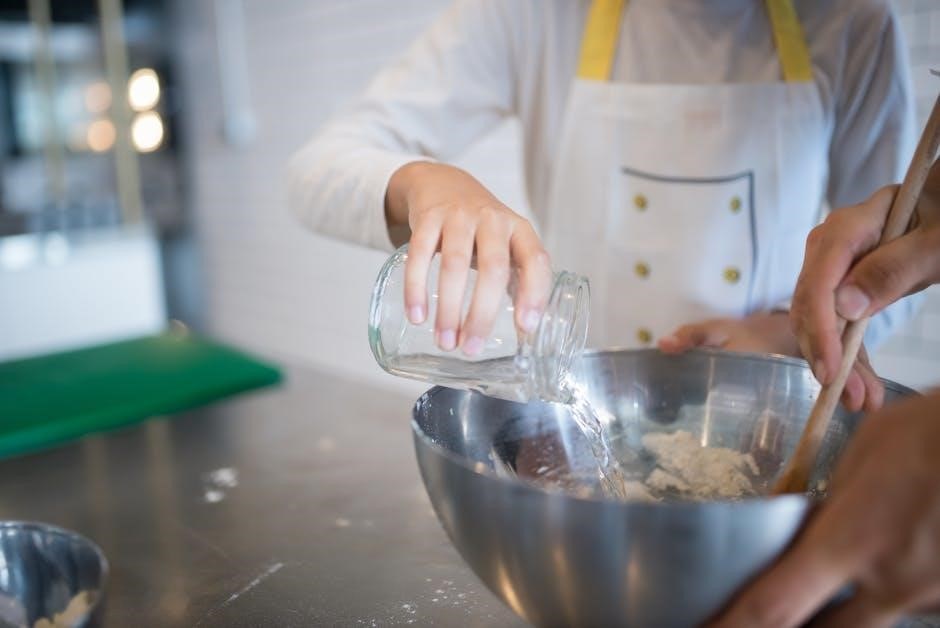
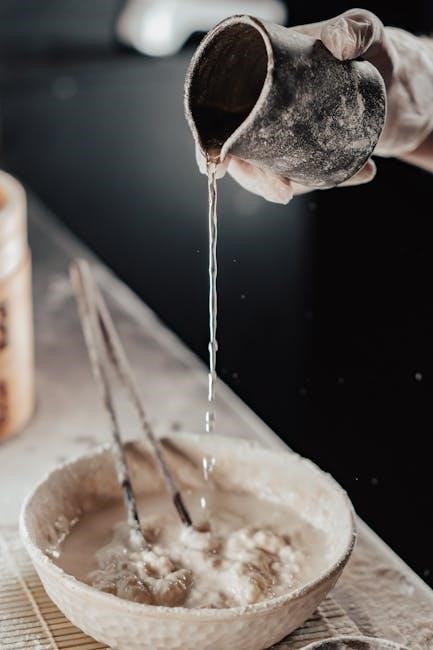
Water-to-Powder Ratio
Maintain the optimal water-to-powder ratio for Mapei grout to ensure proper bonding and durability. Follow the manufacturer’s instructions for precise measurements, as excess water can weaken the grout. Adjustments may be needed based on environmental conditions, but always refer to the product’s Technical Data Sheet for accurate guidelines.
4;1 Recommended Ratios for Mapei Grout
The recommended water-to-powder ratio for Mapei grout varies by product but typically ranges from 1:3 to 1:4 (water to grout). Always follow the specific product’s instructions for accurate measurements. For Mapei Ultracolor Plus, a common ratio is 1 part water to 3 parts grout. Use a clean, precise measuring method to ensure consistency and durability in the grout application.
4.2 Adjusting the Mix for Specific Conditions
Adjustments may be needed based on temperature, humidity, or substrate conditions. Warmer environments might require slightly more water, while cooler conditions could need less. For high-strength or specialized applications, additives like Mapei’s latex-based admixtures can enhance performance. Always refer to the product’s Technical Data Sheet for specific guidance, and avoid over-adjusting to maintain grout integrity and durability.
Application of the Mixed Grout
Apply the mixed grout using a grout float or rubber squeegee, ensuring complete joint coverage. Work in sections, pressing firmly to fill gaps evenly and avoid air pockets;
5.1 Preparing the Tile Surface
Before applying the grout, moisten the tile surface with a damp cloth or sponge, using minimal water to keep the grout joints dry. Ensure the surface is clean, free from dust, and contaminants for proper grout adhesion. This step ensures the grout spreads evenly and bonds effectively with the tile and joints.
5.2 Using a Grout Float or Rubber Squeegee
Fill the joints with the mixed grout using a grout float or rubber squeegee, ensuring no gaps or ridges remain. Work diagonally across the tiles to spread the grout evenly, applying firm pressure to fill the joints completely. Remove excess grout from the surface with a damp sponge, taking care not to pull grout out of the joints during cleanup.
Working Time and Pot Life
The mixed grout should be used within 20-25 minutes. Regular stirring extends pot life. Avoid re-mixing or adding water post-setting.
6.1 Understanding the Pot Life of the Mix
Mapei grout mix has a pot life of 20-25 minutes after mixing. Regular stirring can slightly extend this period. Once set, avoid re-mixing or adding water, as this reduces effectiveness and compromises finish quality. Work efficiently within the time frame to ensure optimal results and a professional finish. Proper management of pot life is crucial for success.
6.2 Avoiding Over-Working the Grout
Over-working the grout mix can introduce air bubbles, leading to uneven finishes and reduced durability. Mix only the necessary amount and apply promptly. Excessive stirring or re-mixing after initial preparation should be avoided. Once applied, avoid over-manipulating the grout to prevent pulling it from joints. Work within the 20-25 minute pot life for best results and a smooth, professional finish.

Cleaning and Maintenance
Clean tools immediately after mixing to prevent grout residue. Use water and mild detergents to scrub buckets and mixers. Regularly rinse grout floats and squeegees to maintain effectiveness. For dried grout, soak tools in warm water before cleaning. Proper maintenance ensures longevity and optimal performance of grout application tools, preventing contamination and ensuring smooth future mixing sessions.
7.1 Cleaning Tools After Mixing
Clean tools immediately after mixing to prevent grout from hardening. Scrub buckets, mixers, and utensils with water and mild detergents. Rinse grout floats and squeegees thoroughly to remove residue. For dried grout, soak tools in warm water before cleaning. Regular maintenance ensures tools remain functional and ready for future use.
7.2 Maintaining the Mixed Grout
Maintain mixed grout by stirring occasionally to prevent settling. Use within the recommended pot life, typically 20-25 minutes. Avoid adding excess water, as it weakens the grout. If the mix stiffens, remix gently without adding more water. Keep the mixture in a clean, shaded area to ensure optimal workability and desired results;

Common Mistakes to Avoid
Common mistakes include using incorrect water quantities, contaminated water, or over-mixing, which can lead to uneven consistency or air entrainment. Avoid adding excess water to stiffened grout.
8.1 Incorrect Water Quantity
Using too much or too little water can significantly affect grout consistency and performance. Excess water leads to weak bond strength and uneven drying, while insufficient water results in a stiff, unworkable mix. Always adhere to the recommended water-to-powder ratio specified in the product instructions to ensure optimal results and durability.
8.2 Using Contaminated Water
Using contaminated water can introduce impurities that affect grout quality. Salt, dirt, or chemicals in the water can cause uneven color and weaken the bond. Always use clean, fresh water to ensure proper hydration and color consistency. Avoid additives unless specified, as they may alter the grout’s properties and compromise its durability.
Special Considerations
Consider environmental conditions, such as temperature and humidity, when mixing and applying grout. Ensure proper substrate preparation and avoid contaminants to achieve optimal results and durability.
9.1 Mixing in Different Environmental Conditions
Temperature and humidity significantly impact grout mixing. Ideal conditions are between 5°C and 35°C. In high humidity, slightly reduce water quantity to prevent excessive fluidity. In low humidity or high temperatures, minimal adjustments may be needed to maintain workability. Avoid mixing in direct sunlight or windy conditions to prevent rapid setting. Ensure consistent mixing times for optimal results.
9.2 Storage and Disposal of Unused Grout
Unused Mapei grout should be stored in a clean, airtight container, protected from moisture and direct sunlight. Keep it in a cool, dry place to maintain its quality. Dispose of leftover grout responsibly, following local regulations. Do not pour unused grout down drains, as it can harden and cause blockages. Clean mixing tools with water before the grout sets for easy disposal.
Safety Precautions
Wear protective gear, including gloves and goggles, when mixing Mapei grout. Work in a well-ventilated area and avoid inhaling dust. Keep the workspace clean and safe.
10.1 Protective Gear and Workspace Preparation
Always wear protective gloves, safety goggles, and a dust mask when mixing Mapei grout to avoid skin and eye irritation and inhaling dust particles. Ensure the workspace is well-ventilated and clear of debris. Cover surrounding surfaces with drop cloths or plastic sheets to protect them from accidental spills or splashes during mixing and application.
10.2 Handling the Grout Safely
Handle mixed grout carefully to prevent spills and skin contact. Avoid inhaling dust when pouring or stirring. Keep the mixed grout away from children and pets. Store any unused, unmixed grout in a cool, dry place, following the manufacturer’s storage guidelines. Dispose of leftover mixed grout responsibly, adhering to local regulations for hazardous waste.
Proper Mapei grout mixing techniques ensure durability and aesthetics. Follow instructions carefully for optimal results, and always prioritize safety and environmental considerations during the process.
11.1 Summary of Key Mixing Steps
Shake the grout bag thoroughly, use a low-speed mixer, and adhere to the recommended water-to-powder ratio. Mix in stages for consistency, avoid over-working the grout, and clean tools immediately. Proper preparation and application ensure a successful outcome with Mapei grout products.
11.2 Final Tips for Successful Grouting
Always use clean water and avoid contamination. Ensure the tile surface is properly prepared and moistened. Mix grout in small batches and adhere to Mapei’s instructions. Work within the pot life and avoid over-stirring. Clean tools immediately and maintain the mix’s consistency. Follow temperature guidelines and apply grout evenly for a professional finish. Proper preparation ensures long-lasting results.